To backup my Windows 7, I connected a 1TB drive to the server, formatted it for Mac (HFS) and created a directory 'wbackups' on that drive. That's where the backups will go.
I then went ahead and using Server Preferences, I created a new user 'wbackup' that will be used to access that backup directory:

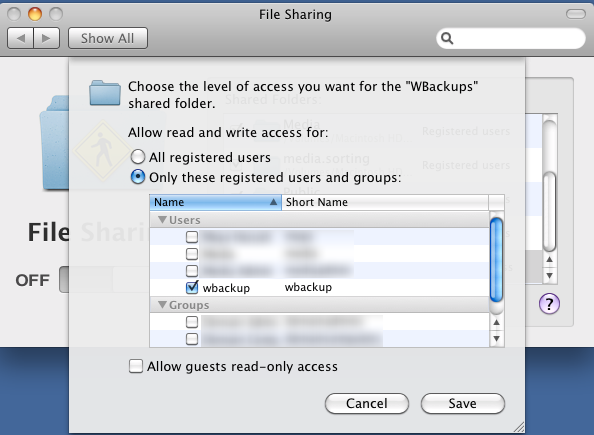
I then granted that user access to the File Sharing service:

Back in Server Preferences, choose Groups and then make add the 'wbackup' user to the 'Workgroup' group. This step is critical otherwise you'll get an error message when you setup the backup on Windows.
Once the user setup is done, in Server Preferences click 'File Sharing' and add a new share pointing the directory you created for the backups (wbackup in my case):
That concludes the Mac OS X Server part. Now, Windows 7:
In Control Panel -> System Preferences click 'Back up your computer'. Then click 'Set up backup'. You should be getting something like this:

Click 'Save on a network'. Type in the path to your share on the OS X Server and the username and password you created earlier. Make sure to include the workgroup 'workgroup' in the username (as in: workgroup\wbackup) or else you will get error 0x80070043 (The specified network location cannot be used):

Once done, you're almost ready to begin your first backup. There is one more step to do - change the security policy of your computer. Apple's implementation of Ssmba, the protocol used to connect to network shares has a flaw. If you start your backup without the following workaround, it will always fail after running for a little while (for me it failed at around 14%). To fix that, click the 'Start' icon (lower-left corner) and type 'secpol.msc'. Hit return.
In the window that opens, navigate to Security Settings -> Local Policies -> Security Options. On the right pane, double-click 'Network security: LAN Manager authentication level' and choose 'Send NTLM response only':

You're all set. Click 'Back up now' to start the backup to your network share on you Mac OS X server.